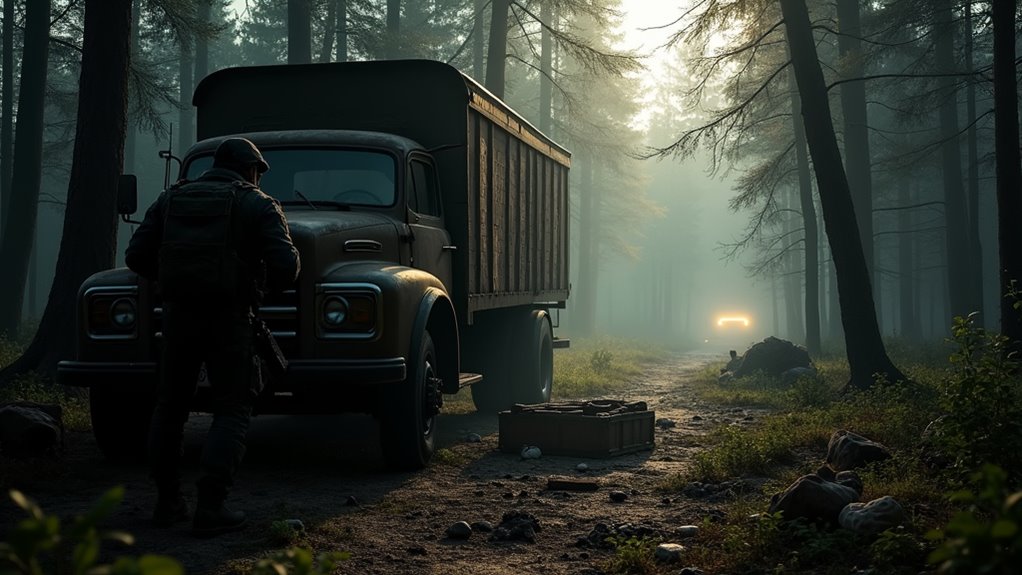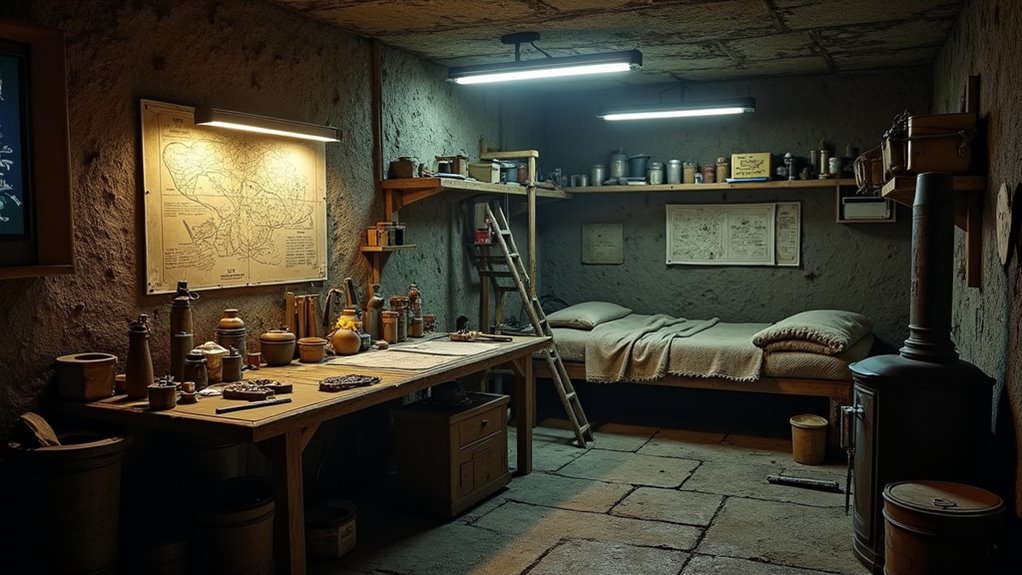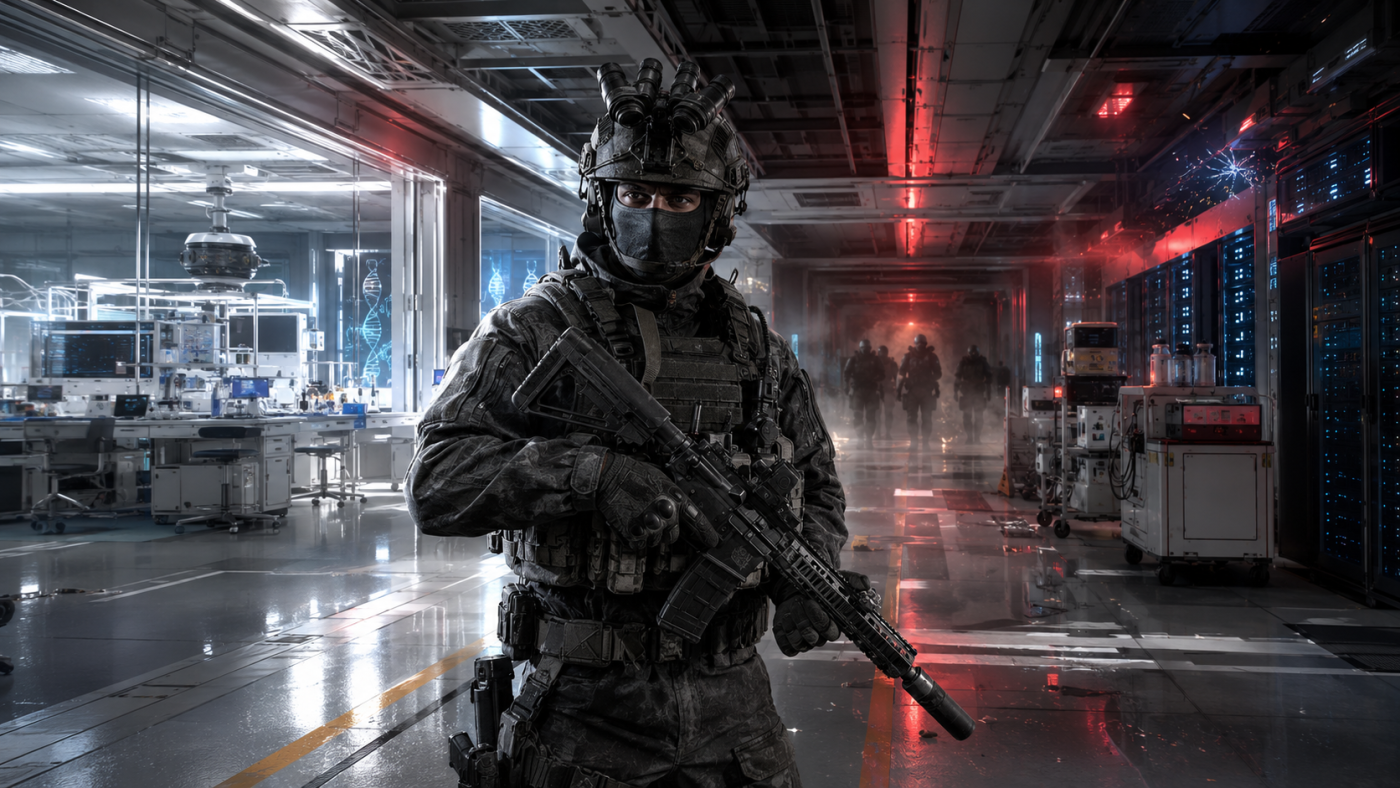
Escape from Tarkov’s Blackout event transforms Labs into one of the deadliest raids the game has seen in a while. The familiar high-tech facility is suddenly plunged into darkness, extraction rules change completely, and a new enemy faction turns every corridor into a potential death trap.
If you’re planning to finish the event questline—or simply survive long enough to escape—you’ll need far more than a good rifle.
Here’s how the Blackout event works, how to restore power, where to extract, and why night vision has become practically mandatory.
What Is the Blackout Event?
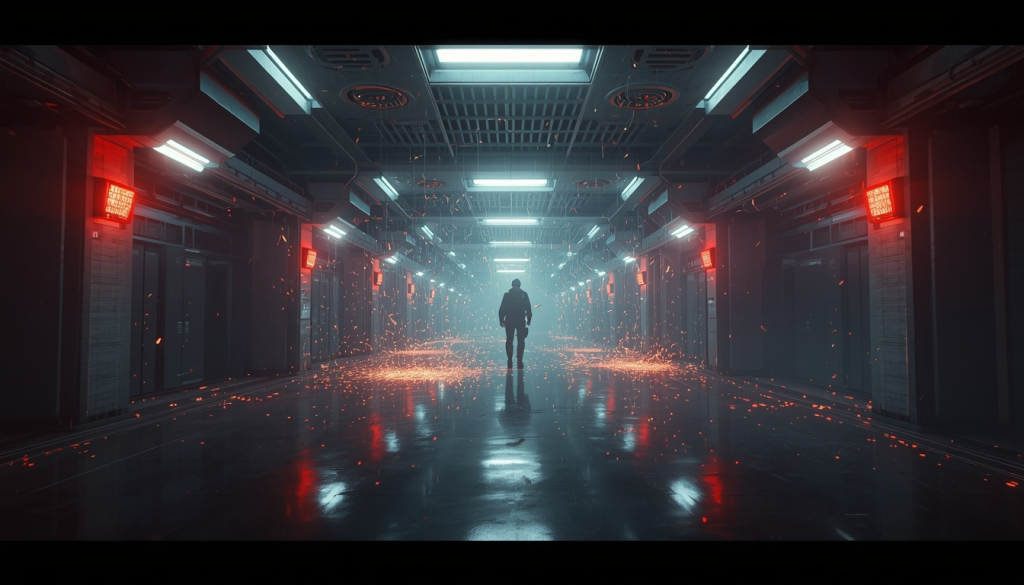
Blackout is a limited-time event that takes place exclusively on TerraGroup Labs. Unlike several previous Labs events, nothing changes about entry requirements—you still need a TerraGroup Labs access keycard every single raid.
Don’t make the mistake of loading into your stash with a full kit only to realize you forgot the keycard.
The good news is that Battlestate Games made acquiring Labs cards much easier during the event. Instead of relying on lucky loot or overpriced Flea Market listings, there are several reliable trader options.
| Trader | Requirement | Cost |
|---|---|---|
| Therapist | LL3 | Around 166,500 ₽ |
| Ref | LL3 | 14 GP Coins |
| Mechanic | LL3 Barter | 1 Bulbex Cable Cutter, 1 Pipe Grip Wrench, 2 Pliers Elite |
If you already have the barter items, Mechanic’s trade is usually the cheapest option. Therapist’s offer is the easiest since it only costs roubles, while Ref works well if you’ve accumulated GP Coins you aren’t planning to spend elsewhere.
Technically, it’s also possible to reach Labs through transit from Streets of Tarkov or Factory.
That said, it isn’t worth it for this event.
Adding another raid before you even reach Labs simply increases the chance of dying before the Blackout mechanics even begin.
The Lights Go Out Almost Immediately
The first few moments of a raid look perfectly normal.
Then everything changes.
Only seconds after spawning, the facility loses power and nearly the entire map becomes pitch black. Visibility drops dramatically, making normal navigation almost impossible without proper equipment.
Your first instinct might be to flip on a flashlight.
That’s usually a mistake.
Flashlights certainly help you see—but they also advertise your position to every player wearing night vision. Instead of lighting your own path, you’re often just painting yourself as the easiest target in the raid.
For this event, night vision goggles are the safest and most dependable choice.
Meet Black Division
Darkness isn’t the only new problem.
Blackout introduces Black Division, a heavily armed AI faction that immediately becomes the biggest threat inside Labs.
Raiders still exist during the event, but they rarely remain the dominant force for long. Black Division frequently wipes them out soon after spawning, leaving only scattered survivors around the map.
Unlike Raiders, these enemies don’t simply appear once.
They can continue returning throughout the raid, forcing players to stay alert even after clearing an area.
Poor positioning usually ends in an instant death.
How Labs Changes During Blackout
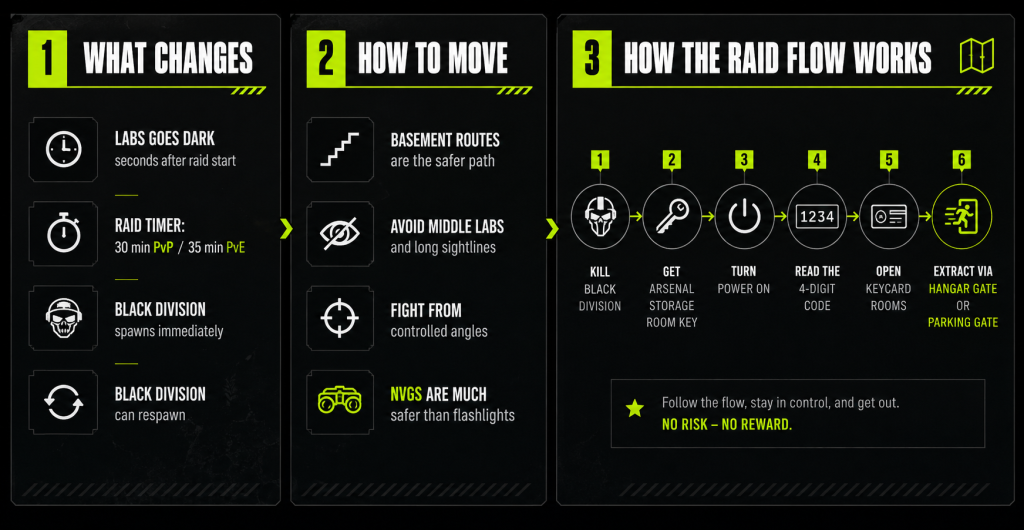
Besides permanent darkness, several other mechanics change during the event.
Most importantly, raids are shorter than usual.
Following balance adjustments, raid duration is now:
| Mode | Raid Time |
|---|---|
| PvP | 30 minutes |
| PvE | 35 minutes |
That extra pressure means slow looting routes become much riskier.
Some of the biggest changes you’ll notice include:
- Labs loses power shortly after the raid begins.
- Black Division appears immediately.
- Black Division can respawn after being eliminated.
- Wedge and his guards may appear near Hangar Gate or Parking Garage.
- Raiders still spawn, but they’re no longer the primary danger.
- Central Labs becomes extremely dangerous.
- Basement routes are generally much safer for moving across the map.
Stay Out of the Middle
The center of Labs has always been risky.
During Blackout, it’s far worse.
Open sightlines allow enemies to fire from several directions at once, while Black Division can punish even brief mistakes with frightening speed.
Instead of crossing wide-open areas, stick to:
- Narrow corridors
- Basement routes
- Controlled angles
- Areas with reliable hard cover
Limiting the number of directions enemies can attack from makes surviving dramatically easier.
Extracting Works Completely Differently
Extraction is no longer as simple as pressing a button.
During Blackout, only two exits are available:
| Extract | Requirement |
|---|---|
| Hangar Gate | Restore main power |
| Parking Gate | Restore main power |
Both exits are technically active every raid.
Neither actually opens until someone restores electricity.
Once power is turned back on, every surviving player gains access to both extraction points.
Naturally, this turns the power room into one of the hottest locations on the entire map.
And whenever there’s one location everyone needs…
Players start camping it.
Expect ambushes near the power room itself, Black Room, and the routes connecting those areas. Many players prefer waiting for someone else to unlock everything before attempting to steal the reward—or simply kill whoever carried the key.
Restoring Power
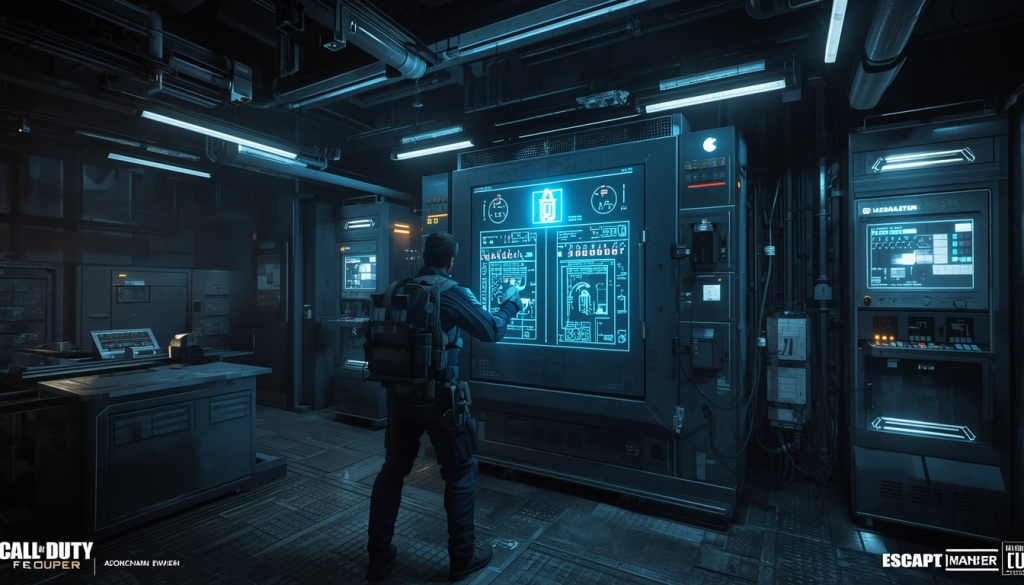
To reactivate Labs, you’ll first need access to the TerraGroup Labs Arsenal Storage Room.
The room sits near Black Room and the server area on the first floor.
Getting inside requires a special key dropped by Black Division.
Wedge always carries one.
Other Black Division soldiers have a chance to spawn with it as well, so always search their pockets instead of grabbing weapons and moving on.
Once you’ve unlocked the Arsenal Storage Room:
- Enter the room.
- Activate the power panel.
- Restore electricity.
- Unlock both Hangar Gate and Parking Gate extractions.
That’s only half the objective.
The Four-Digit Code Is Different Every Raid
The Arsenal Storage Room contains something just as important as the power switch.
Inside, you’ll find a whiteboard displaying a unique four-digit code.
That code changes every single raid.
Don’t bother memorizing it.
It won’t work next time.
During the Blackout event, every Labs keycard room uses this raid-specific code instead of requiring its normal access card. That includes:
- Black
- Green
- Yellow
- Violet
- Red
- Other keycard rooms
Several event quests depend on entering these rooms, making the code one of the most valuable pieces of information you’ll obtain during a raid.
A successful Blackout run generally follows this sequence:
- Enter Labs.
- Survive the blackout.
- Eliminate Black Division enemies.
- Loot the Arsenal Storage Room key.
- Unlock the room.
- Restore power.
- Read the four-digit code.
- Open the required keycard rooms.
- Complete your objective.
- Extract through Hangar Gate or Parking Gate.
Of course, things rarely go that smoothly.
More often than not, someone will be waiting somewhere along that route, ready to end your raid before you reach the finish line.
Fighting Black Division: How to Stay Alive
Most players will naturally focus on Wedge, the Black Division commander, since he always carries the Arsenal Storage Room key. In reality, though, every Black Division soldier is capable of ending your raid in seconds if you take a bad fight.
Unlike human opponents, these AI enemies punish careless peeks almost instantly. Swinging wide into an open hallway or exposing yourself to multiple sightlines is usually a one-way trip back to the stash.
Instead, fight them on your terms.
Keep every engagement as controlled as possible, use hard cover, and make sure you’re only exposed to a single angle whenever you peek.
Grenades are especially valuable during this event. Even if they don’t secure kills, they force Black Division to reposition, giving you breathing room or creating an opportunity to push from a better angle.
One thing that catches many players off guard is head peeking.
Against PMCs, exposing only your head is often the safest option. Against Black Division, however, it frequently works against you. Their accuracy is high enough that presenting only a tiny target can simply help them line up an instant headshot.
The Safest Places to Fight Black Division
Certain parts of Labs naturally favor players over aggressive AI.
If you have to engage Black Division, these positions usually offer the biggest advantage:
- Doorways that force enemies to push directly into your crosshair.
- Staircases where you can quickly retreat to a lower floor.
- Hallways with solid cover nearby.
- Large pillars that let you break line of sight and reset fights.
- Basement corridors while rotating across the map.
On the other hand, several locations should be avoided whenever possible.
Try not to fight inside open rooms with multiple entrances, staircases where your head appears before the rest of your body, or the central sections of Labs.
The middle of the map is especially dangerous, with enemies capable of shooting from above, below, and across long sightlines simultaneously.
PvE can actually feel even harder than PvP here. Without many real players drawing Black Division’s attention, you’ll often end up fighting the majority of the AI yourself.
Every Blackout Event Quest
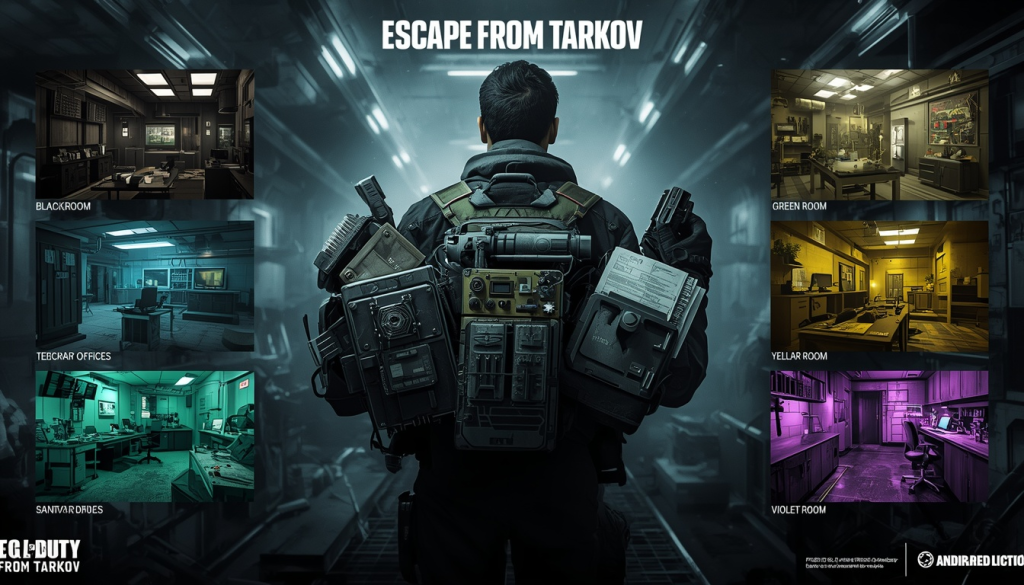
The Blackout event includes five main quests, each introducing another part of the event’s mechanics.
Completing the full questline rewards the Going Dark achievement.
| Quest | Quest Giver |
|---|---|
| Wrench and Waterboarding | Skier |
| Key to Every Door | Skier |
| My Blood Type Mark Is on the Sleeve | Therapist |
| Patch the Vulnerability | Mechanic |
| If I Can’t Have It | — |
Wrench and Waterboarding
This opening quest couldn’t be much simpler.
Accept it from Skier, enter Labs during the Blackout event, and the objective is complete.
There are no extra requirements.
You don’t need to survive.
You don’t need to extract.
You don’t even need to fire your weapon.
Simply entering the raid is enough to finish the task.
Key to Every Door
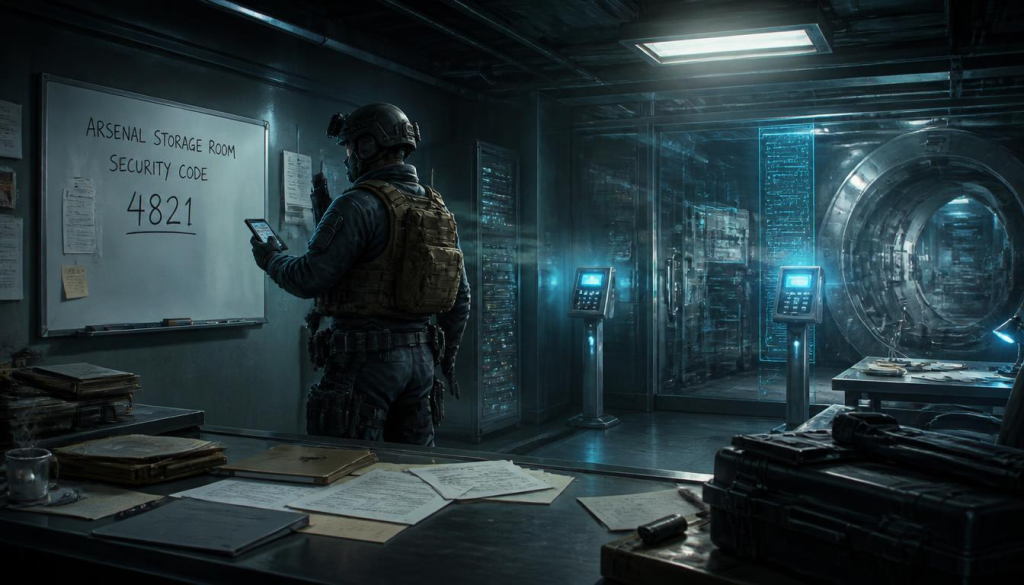
The second Skier quest introduces the event’s central mechanic—restoring power and accessing Labs’ locked rooms.
To complete it, you’ll need to:
- Enter Labs.
- Obtain the Arsenal Storage Room key.
- Unlock the power room.
- Restore electricity.
- Read the four-digit code from the whiteboard.
- Use that code to unlock any keypad-controlled keycard room.
The specific room doesn’t matter.
Any keypad door works.
Another helpful detail is that extraction isn’t required for completion. As long as you’ve successfully opened a keypad door with the raid’s code, your progress is saved—even if Black Division immediately deletes you afterward.
One common mistake is restoring power and leaving the raid without actually using the code.
Doing that means you’ve completed nearly every step… but not the quest.
My Blood Type Mark Is on the Sleeve
This Therapist mission is where the event starts becoming genuinely challenging.
You’ll need to recover three separate quest items hidden behind locked Labs rooms, which means obtaining the raid’s four-digit code is mandatory before you can reach them.
Here’s where each item is located:
| Room | Item Location |
|---|---|
| Black Room | Sample inside the containment box on the left |
| Green Room | One of three possible spawn locations |
| Sanitar’s Office | Journal on the desk beside the computer |
Black Room
The sample is stored inside the containment box on the left side of the room.
Picking it up can be slightly awkward because you’ll need to interact with it through the glove-port opening, which sometimes requires standing at the correct angle before the prompt appears.
Green Room
Unlike the previous objective, the Green Room item doesn’t always spawn in exactly the same place.
Check each of these locations carefully:
- Counter immediately to the left after entering.
- Bottom shelf of the standing refrigerator.
- Vent hood area at the rear of the room.
Missing one of these spots often sends players searching the room much longer than necessary.
Sanitar’s Office
The final objective is usually the easiest to find.
Look for an Intel-style folder resting on the desk near the computer or laptop.
Unlike the previous Skier quests, this one does require extraction.
Fortunately, you don’t have to recover every item in a single raid.
If you manage to secure one or two objectives before things become chaotic, simply leave and come back later for the remaining items.
Trying to collect all three every run often ends with losing everything you’ve already gathered.
Getting greedy has always been one of the fastest ways to donate gear to Labs.
Patch the Vulnerability
Mechanic’s quest shifts the focus away from looting and toward sabotage.
Instead of collecting items, you’ll receive three Local Network Hacking Devices that must be planted across different parts of Labs.
Treat them like your most valuable gear.
If you lose the devices during a failed raid, Mechanic offers a barter to replace them, but it’s much easier to avoid that problem entirely by storing them inside your secure container whenever possible.
You’ll need to plant one device at each of the following locations:
| Location | Plant Spot |
|---|---|
| System Admin Office | Desk inside the power/code room |
| Garage Gate Control Room | Desk in Yellow Room |
| Central Security Monitoring Room | Server racks inside Violet Room |
Planting the Devices Efficiently
Since you’ll already be visiting the power room to restore electricity and obtain the four-digit code, it’s smart to complete the first objective immediately.
Simply place the hacking device on the desk before moving on.
The second installation takes place inside Yellow Room.
This section of Labs can become extremely dangerous because Black Division often patrols the nearby garage. Standing still for several seconds while planting the device leaves you exposed to multiple angles, so clear the area first whenever possible.
The final objective is inside Violet Room.
Open the red security cages, move to the server racks, and complete the planting animation before rotating toward extraction.
Don’t Forget the Kill Requirement
Planting the devices isn’t enough.
Mechanic also requires you to eliminate 10 Black Division operatives before the quest is complete.
Fortunately, this objective usually progresses naturally while moving between planting locations.
There’s no need to hunt AI across the entire map.
Just stay alive long enough to finish both objectives.
If I Can’t Have It
The final mission in the Blackout questline is also the longest.
Originally, players had to eliminate 15 PMCs on Labs during the event. Following a balance update, Black Division operatives and other AI enemies now count toward the objective as well, although the exact requirement was later adjusted in official event updates.
Even with the adjustment, finishing this quest still takes time.
The biggest problem isn’t finding enemies.
It’s reaching them before someone—or something—kills them first.
Black Division constantly moves through the facility, often wiping out PMCs before you even arrive.
Where Most Fights Happen
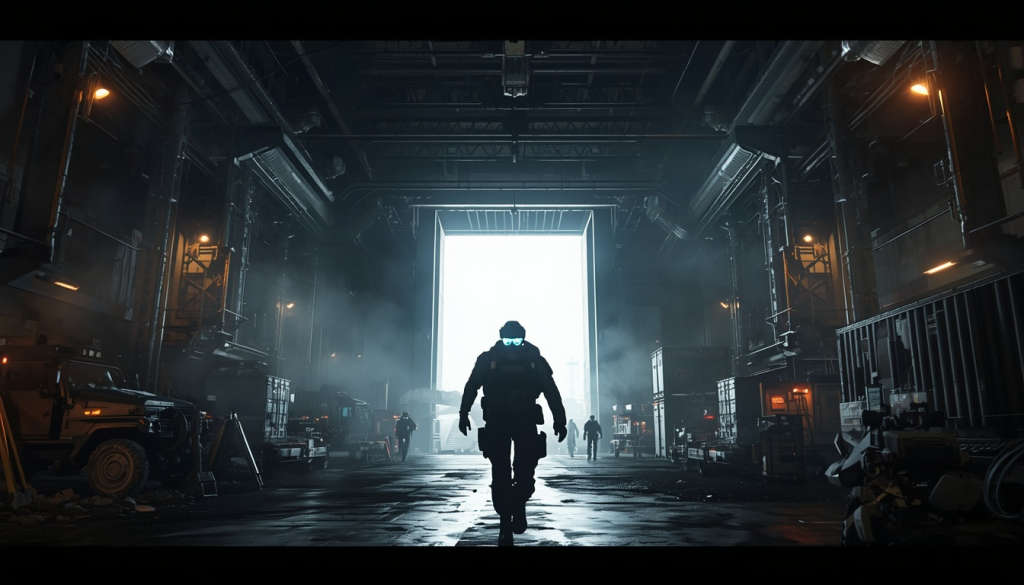
If you’re actively chasing kills, avoid wandering aimlessly through Labs.
Instead, rotate through the locations players are almost guaranteed to visit:
- Black Room
- Routes leading to the power room
- Keycard rooms
- Basement crossings
- Extraction routes
- Hangar Gate
- Parking Gate after power has been restored
These areas naturally funnel players together, making them the most reliable places to find combat.
Just don’t sprint through the middle of Labs expecting things to go well.
PvP Is the Better Choice
Although the quest can technically be attempted in PvE, it’s considerably less efficient.
Black Division frequently wipes out PMC AI before you have the opportunity to engage them, making progress frustratingly inconsistent.
PvP offers far more reliable opportunities because real players continue pushing objectives throughout the raid, creating predictable firefights around quest locations and extraction routes.
Once you’ve completed the required eliminations, the Blackout questline ends and you’ll unlock the Going Dark achievement.
Best Loadout for the Blackout Event
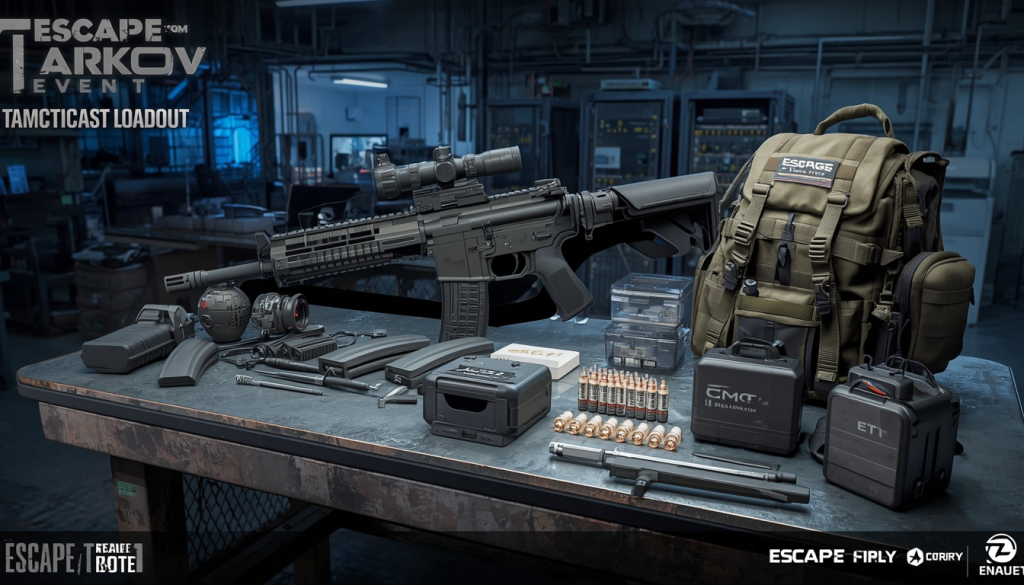
Expensive gear won’t save you if you can’t see your target.
Blackout rewards smart equipment choices far more than oversized budgets.
Here’s a loadout that consistently performs well throughout the event:
| Gear Slot | Recommended Choice |
|---|---|
| Vision | Night Vision Goggles every raid |
| Armor | Class 5 armor with good coverage |
| Weapon | Low-recoil automatic rifle |
| Ammunition | High-penetration rounds |
| Optic | Reflex sight |
| Magazines | High-capacity magazines, ideally 60-round |
| Grenades | Bring several |
| Medical Supplies | Propital, ETG, CMS or Surv12, bleed treatment |
| Backpack | Optional—Black Division frequently drops usable bags |
Night Vision Isn’t Optional
If there’s one item you should never skip, it’s NVGs.
While Black Division enemies can drop night vision equipment, relying on looting them first means surviving the opening fights without being able to see.
That’s rarely a winning strategy.
Bring your own pair every raid.
Armor Choices
Class 5 armor generally offers the best balance between protection and cost.
Class 6 certainly sounds attractive, but Black Division uses powerful ammunition capable of punching through expensive plates anyway.
If you’re planning multiple raids, constantly replacing top-tier armor quickly becomes an expensive habit.
A solid armored rig with decent plates is usually the more practical choice.
Keep Your Optics Simple
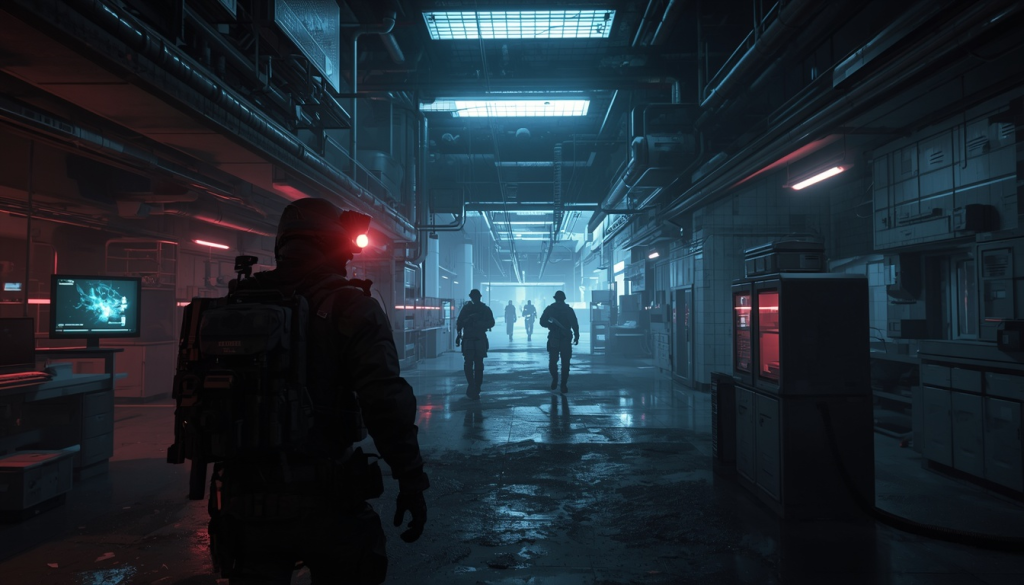
Large magnified scopes don’t offer much value inside dark, cramped hallways.
Most fights happen at close range, often around corners or doorways where target acquisition matters far more than long-distance precision.
A clean reflex sight keeps your weapon quick to handle and much easier to use in low-light conditions.
Weapons and Ammunition
Controllable automatic rifles remain the safest option throughout Blackout.
Aim at head level, fire controlled bursts, and try to eliminate targets before they have time to react.
Magazine capacity matters just as much as recoil.
Black Division often attacks in groups, and running dry halfway through a fight is one of the fastest ways to lose an otherwise successful raid.
Grenades round out the loadout nicely, giving you a reliable way to force enemies out of cover or create enough space to reposition before the next engagement begins.