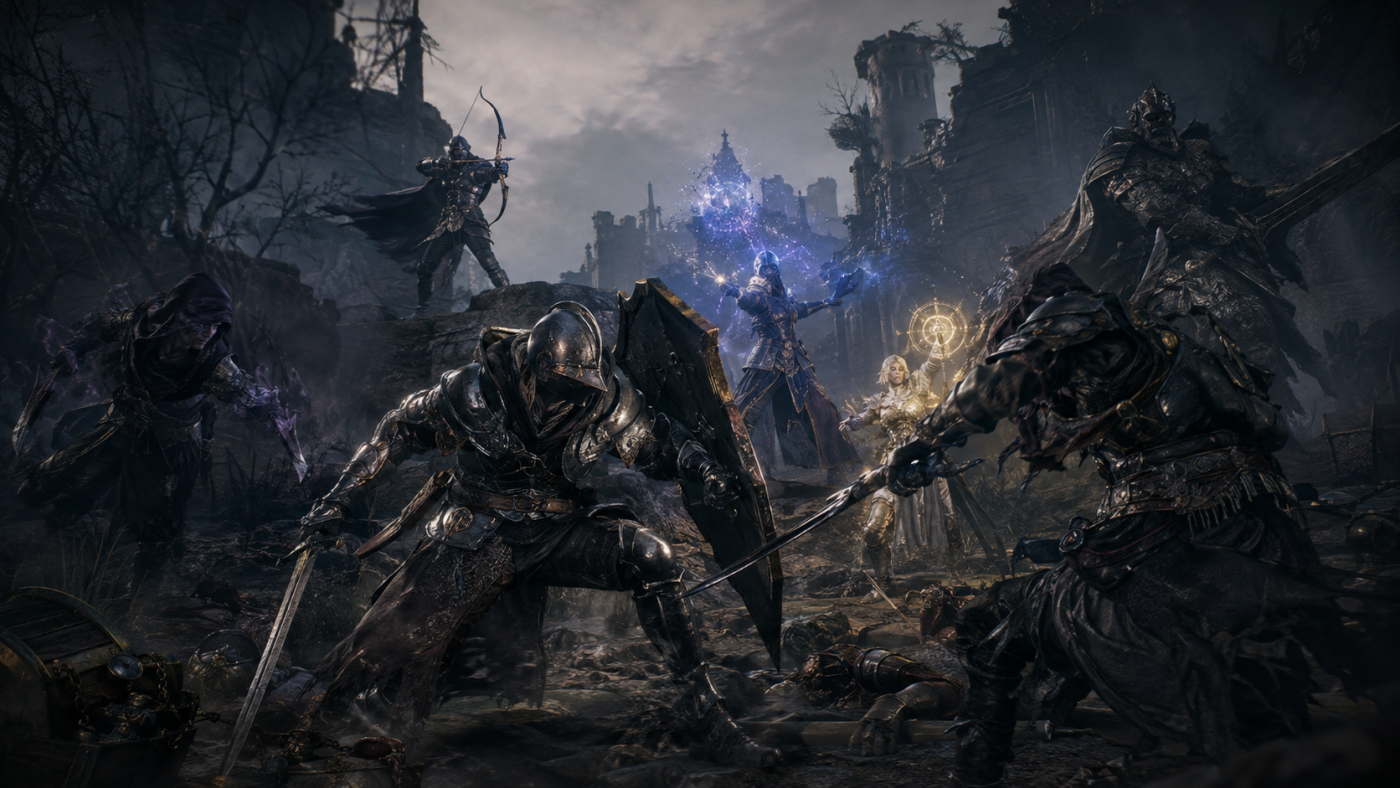
Mistfall Hunter gives you plenty of room to shape a build around the way you actually want to fight. Your equipment matters, but your skill and talent choices can completely change how a class performs. You can’t exactly create a completely nonsensical setup like a melee Sorcerer, but that doesn’t mean buildcrafting is simple. Skills and talents interact in ways that can be easy to miss, especially if you’re new and mostly want to get into raids and start fighting.
There are six Gyldhunter classes in Mistfall Hunter, and each has a very different game plan:
- Mercenary: A traditional melee fighter using either Sword and Shield or Hammer. This guide focuses on Sword and Shield.
- Sorcerer: A difficult but extremely powerful class with a high skill ceiling. It can work as an AoE support nuker or conventional DPS; this guide uses the Stardust setup.
- Blackarrow: One of the strongest Gyldhunters, with excellent mobility, high damage, and two arrow types: Archer’s Arrow and Hunter’s Arrow. It’s also one of the easiest classes for newcomers.
- Shadowstrix: A fast rogue that can use a Dagger or Dual Blades. The Dual Blades setup is covered here and is especially dangerous in solo play.
- Seer: The game’s only true support class, with Reverent and Blasphemer builds. The guide focuses on Reverent, which is exceptionally powerful and can even dominate solo fights.
- Withered Knight: The weakest class on paper, but far from useless. It can use a Greatsword or Polearm and Shield, with Greatsword generally being the stronger choice.
And there’s an important catch: a strong build won’t rescue you from bad play.
You still need to understand your class, read your opponent, manage your movement, and get a feel for the combat. Even the supposedly weakest Withered Knight can beat classes such as Seer or Shadowstrix if you play around its strengths instead of trying to hide its weaknesses.
The Knight is slow, so I often use that against other players. I’ll deliberately make it look as though I can’t reach them, encouraging them to close the distance. Once they commit, the Greatsword’s long reach lets me strike between their attacks while they can’t easily dodge away.
That’s the real lesson here. Learn what your class is good at, and the build starts doing the heavy lifting.
Mercenary: Sword and Shield Counter Build
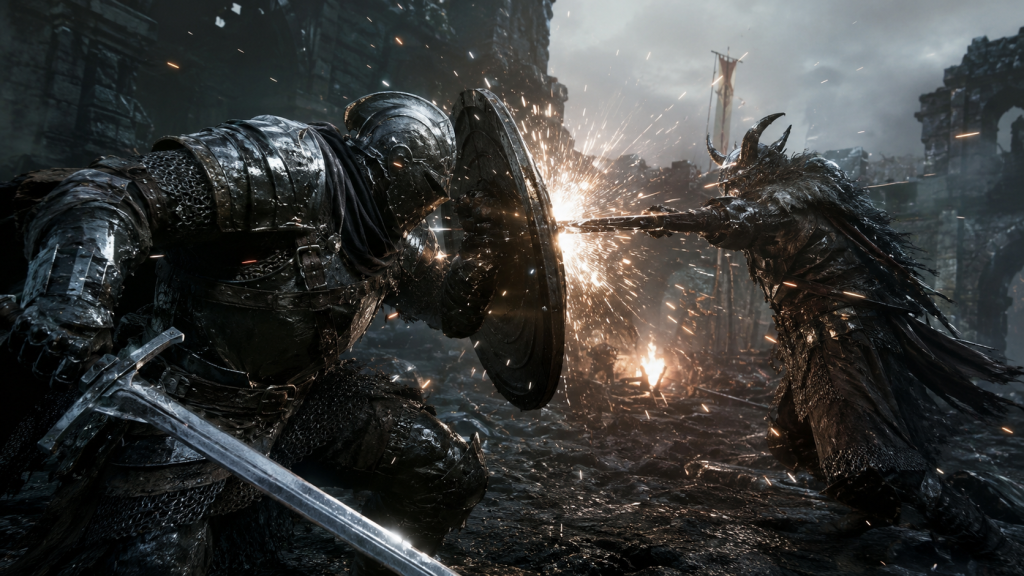
For Mercenary, Sword and Shield is the standout setup. Forget the Hammer for this one. The idea is to play like a gladiator: block incoming attacks, land perfect blocks, bait opponents into committing, then punish them with counters.
This isn’t a mindless button-mashing build, although it’s still less demanding than some of the game’s other setups. Your two most important skills are Shield Dash and Stone Breaker Slash.
Shield Dash gives you both mobility and a defensive way to engage, while Stone Breaker Slash provides another parry option. The basic combat loop is simple: make the opponent attack into your shield, punish the mistake, and generate Momentum for your counterattack.
Build setup:
- Skills: Shield Dash, Stone Breaker Slash
- Talents: Shield Buildup, Perfect Defense, Block Damage Boost, Momentum, Indomitable Will, Rising to the Challenge, Absolute Punishment, Stone Breaker Counter
- Affixes: Elusive, Vitality, Valor
The important talent progression starts with Shield Buildup → Perfect Defense → Block Damage Boost, which leads into Momentum. After a successful parry or an attack against an enemy, Momentum gives Mercenary a shockwave strike. That matters because the build isn’t supposed to turn you into a stationary shield turtle.
Seriously. Don’t turtle.
Mercenary is mobile and excellent at provoking opponents into making mistakes. Rising to the Challenge is particularly valuable for Shield Dash because enemies who attack into the shield during the dash can be stunned, giving you a clean opening.
Then there’s Stone Breaker Counter, which adds super armor to the counter and makes the parry more dependable against Mistfall Hunter’s sometimes awkward hitboxes.
For solo players who enjoy baiting opponents, this is arguably the best Mercenary setup. It rewards patience, timing, and knowing exactly when to let the other player make the first mistake.
Make the enemy feel like they’re on a leash.
Sorcerer: Stardust Burst Build
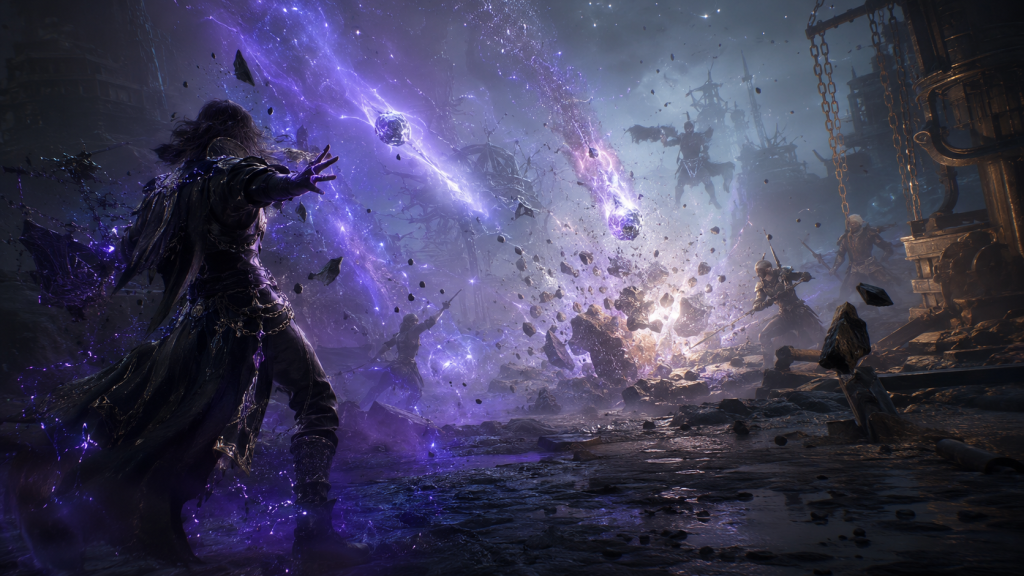
Sorcerer has one major drawback compared with the other classes: it is extremely gear-hungry. You’ll need plenty of Gyldenblood if you want the class to reach its full potential with instant casts.
The recommended setup is Stardust Sorcerer. Elemental Fireball is another option, while Elemental Thunderstrike is easier to pick up but ultimately weaker. Once you understand instant casts and spacing, Stardust has the stronger combination of skills and talents.
The build revolves around forcing enemy dodges, chaining Meteor Charm, and using Stardust Tempest to control space. It’s effective alone, but it becomes especially dangerous in trios.
Meteor Charm is your primary damage tool. If the first hit connects, it staggers the opponent, allowing the next Meteor Charm to follow through with an instant cast. Stardust Tempest adds damage while slowing the target.
Rock Blast serves more as a dodge-baiting tool. If the opponent actually gets hit by it, however, the damage is substantial.
Build setup:
- Skills: Meteor Charm, Stardust Tempest, Rock Blast
- Alternative: Take Meteor Impact instead of Rock Blast if Withered Knight or Mercenary gives you trouble
- Defensive/General Skills: Phantom Step, Shadow Veil, Windcraft or Cryptic Ward
- Talents: No Escape, Quagmire, Storm Impact
- Optional talents: Enchanted Ward, Hurricane
- Affixes: Eloquence 5 first, followed by Elusive, Vitality, Range, and Fervor; fill the remaining slots with damage-focused affixes
Instant casts are what make the build work. Without them, Stardust Sorcerer becomes much slower and easier to punish. Meteor Charm gives you the burst needed to compensate for the class’s vulnerability.
Phantom Step is another major part of the setup because movement is so important in Mistfall Hunter. Shadow Veil is especially useful in solo play, letting you interrupt an enemy opener and giving you an opportunity to escape.
Your third defensive skill comes down to how confident you are. Windcraft is the easier and safer option. Cryptic Ward offers more power if you can consistently time it correctly.
As for Meteor Impact, don’t treat it as another damage spell. It’s defensive tech. You use it to reposition, force super-armored melee opponents to spend their dodge, and then catch them with Meteor Charm. If melee classes are giving you trouble, it’s worth testing.
Blackarrow: Hunter’s Arrow Kiting Build
Blackarrow is probably the easiest class to understand. The recommended setup uses Hunter’s Arrow with Barbed Arrow, Bloodfly Arrow, and Paralysis Arrow.
And despite being a bow build, it can feel surprisingly close to melee combat.
Blackarrow thrives on spacing, chasing, backing off to heal, and generally irritating the other player until they make a mistake. Ragebaiting is practically part of the job description.
Paralysis Arrow is the safer default, but Spore Arrow is a better choice when melee classes are consistently causing your deaths. For the second skill slot, Shadow Step is preferred over Impact Grenade because it is more reliable.
Build setup:
- Skills: Barbed Arrow, Bloodfly Arrow, Paralysis Arrow, Shadow Step, Scattershot, Rapid Arrows
- Alternative: Replace Paralysis Arrow with Spore Arrow against melee-heavy matchups
- Talents: Pursuit Mark, Mark Pursuer, Blood Infection, Powerful Scattershot, Battle Fed, Lasting Pain, Dodge Weapon Shot, Laceration
- Affixes: Vitality, Elusive, Valor, then Curse
The first three affixes form the standard solo foundation.
Vitality gives you more skill energy, Elusive improves your dodge, and Valor raises your overall damage. Blackarrow wants all three because its success depends on constantly moving, firing, and keeping opponents just outside their preferred melee range.
After those, prioritize Curse. It strengthens Barbed Arrow and Bloodfly Arrow by improving their effects and extending their duration. That becomes particularly valuable in longer fights, where the extra damage over time starts adding up.
Blackarrow is an enjoyable class if you like positioning and kiting, but it isn’t unbeatable. A strong Seer or Withered Knight can give it a very hard time.
Shadowstrix: Dual Blades Pressure Build
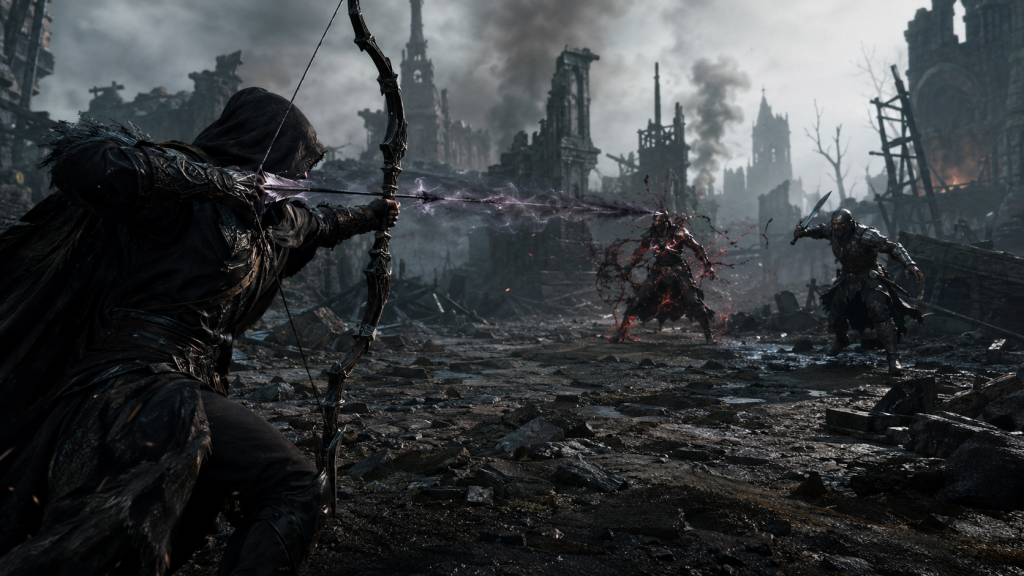
Shadowstrix is a little difficult to explain from a balance perspective.
Some classes clearly trade speed for damage or damage for mobility. Shadowstrix seems to have looked at that arrangement and decided it wanted both.
It’s extremely fast and hits extremely hard.
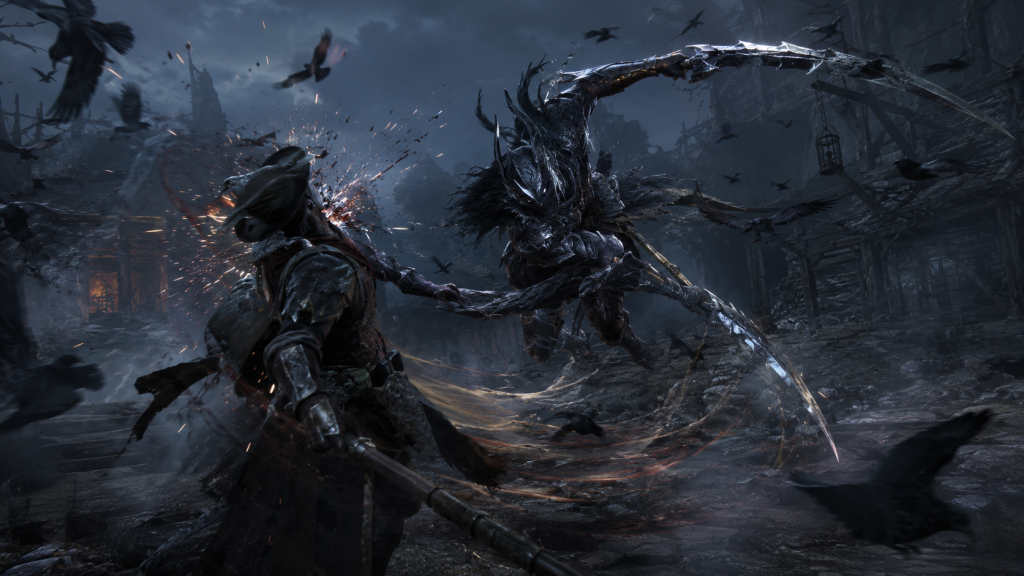
The best setup is Dual Blades. Dagger still has uses for closing distance or escaping, but Dual Blades should be your primary weapon. The general sequence is to approach from stealth, use Crow Storm for control, and then pile on the damage with Spinning Slash.
It might look complicated when you first try it. Once the sequence becomes muscle memory, though, the class is surprisingly straightforward.
In terms of raw strength, this is arguably the strongest class in Mistfall Hunter.
Build setup:
- Skills: Spinning Slash, Crow Storm, Strike Throw, Bloody Bladedance, Fun Rush
- Talents: Wound Buildup, Ambush, Haste, Combat Euphoria, Unstoppable, Blackout, Crow Storm range/AoE upgrades
- Affixes: Elusive, Vitality, Valor, followed by damage- or stealth-focused affixes
Spinning Slash is the main tool because so many of the build’s talents work around it. It isn’t only a damage ability, either. You can use it to reposition while attacking, which makes it useful at several points in an engagement.
The main weakness is control. Shadowstrix doesn’t have the same ability to lock enemies down as some other classes, so Crow Storm becomes extremely important. Investing in its crow speed and AoE upgrades helps catch players who are trying to escape your assault.
It also means you don’t need a perfect opener every time.
That matters because Shadowstrix is very much a high-risk, high-reward class. Get the engagement right and you can erase someone before they have time to respond. Miss your opening, though, and you’re much easier to kill than a Mercenary or Withered Knight.
You either leave with the loot or go back to the hub empty-handed.
Seer: Revenant Support and Sustain Build

Seer is another serious contender for the best class in Mistfall Hunter, particularly when played as Revenant.
This build works for players who want to provide ranged support without becoming helpless in a 1v1. If you’re filling the support slot in a trio, this is about as far from a passive healbot as you can get.
Think of Seer as the game’s Swiss Army knife.
The two key skills are Wind Surge and Healing Art. Healing Art is your main support ability because it restores health while also removing debuffs before the healing takes effect. That includes anti-heal as well as Barbed Arrow, Bloodfly Arrow, Paralysis Arrow, and Sorcerer burns.
Wind Surge serves as the main escape tool. Landing it knocks an opponent backward, and that displacement can create enough space to turn the fight around and even finish the enemy.
Build setup:
- Skills: Wind Surge, Healing Art, Punishment Rune, Intimidation Rune, Burst Rune
- Trio option: Replace Wind Surge with Death Ward
- Additional trio option: Wind Walker Totem
- Talents: Healing Art cleanse/healing talents, Opportunist Strike, Wind Walker support talent for trios
- Affixes: Valor 5, Eloquence 5, Stoic 5, Elusive as high as possible
- Optional affixes: Ethereal 5, Creation 5, Seeker
For damage, Burst Rune does most of the work. It can hit enemies around corners, deals damage, staggers them, and later detonates for another stagger.
That delayed stagger can then be chained into a heavy attack once you learn the timing.
You’re probably not going to top the kill chart with this setup, and that’s fine. Revenant Seer is about giving your team the tools to win fights rather than grabbing every kill yourself.
In trios, Wind Walker Totem is the standout support option. It reduces enemy dodge distance inside its area while increasing the dodge distance of teammates. If the opposing team fails to destroy the totem, that advantage can swing a fight very quickly.
Withered Knight: Greatsword Wither Burst
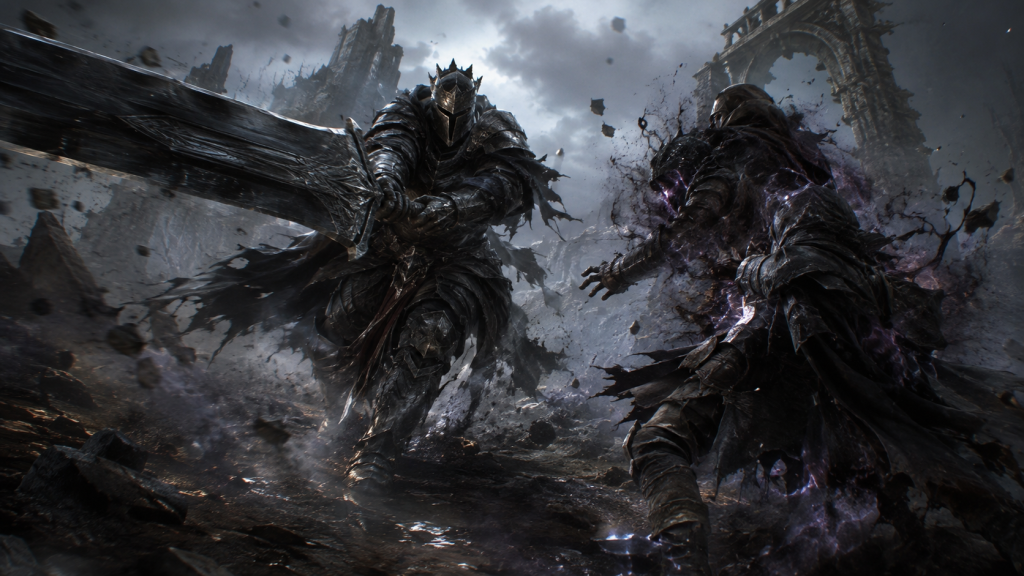
Withered Knight may be the weakest class according to the current balance, but its Greatsword setup can still be nasty in PvP.
The Polearm and Shield option is considerably weaker. Slow tank gameplay is already a questionable proposition in Mistfall Hunter, although an upcoming patch is set to change that.
For now, Greatsword is the stronger choice when the goal is to finish PvP fights quickly.
The build revolves around applying Wither, extending its effects, and then converting it into execute damage through heavy attacks and skill follow-ups.
Your primary skills are Breakthrough Charge and Radiant Retribution. Breakthrough Charge closes the gap and starts your pressure, while Radiant Retribution covers a large area with attacks that gain super armor toward the end of the combo.
The third skill depends on whether you’re playing solo or with a team. Parry is better for solo play, while Thorn Guide is useful in trios because it can pull enemy groups out of position.
Build setup:
- Skills: Breakthrough Charge, Radiant Retribution, Parry for solo, Thorn Guide for trios
- Talents: Greatsword Specialization, Crime, Bad Karma, Righteous Creed, Long Range, Whiplash, Dominance
- Optional talent: Legacy
- Affixes: Burst, Valor, Tenacious, Aegis
The key talent combination is Crime + Bad Karma.
Crime stops a Greatsword execute from fully consuming Wither, while Bad Karma applies debuffs whenever Wither is inflicted. Those debuffs can slow opponents and increase the damage they take, making it much harder for them to escape once your combo gets going.
Righteous Creed adds physical damage after a successful execution. Whiplash lets the final strike of Radiant Retribution execute enemies affected by Wither, while Dominance gives Breakthrough Charge brief super armor.
The end result is a very aggressive Greatsword setup designed to keep moving forward and punish players who panic-dodge.
It’s particularly effective during the early stages of the game, when players are still learning how to fight the class and haven’t developed the matchup knowledge needed to deal with it.
Which Mistfall Hunter Build Should You Play?
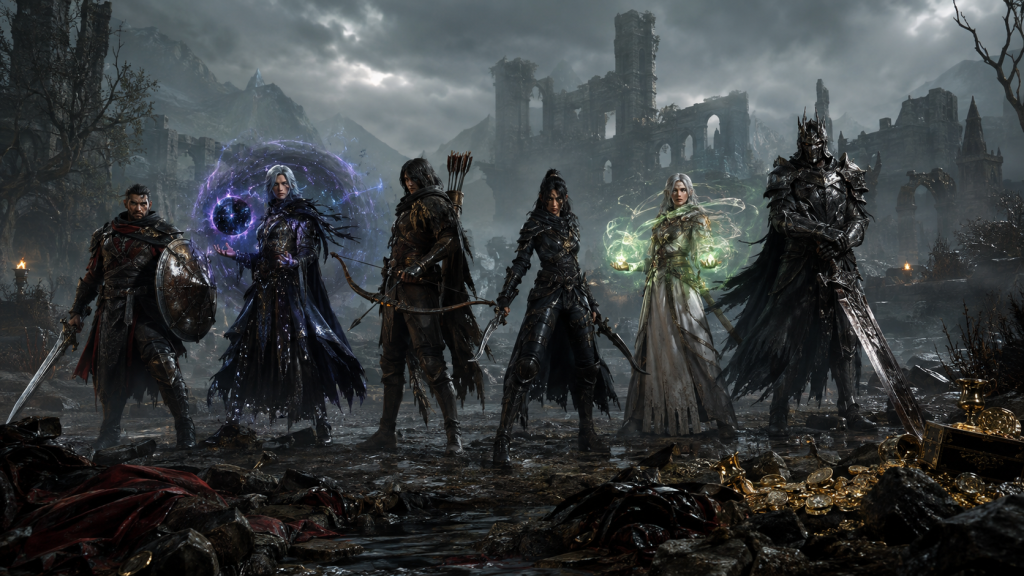
There isn’t one build that magically works for everyone. Mistfall Hunter’s classes ask you to approach fights in very different ways.
Some reward patience and baiting. Others want you to commit immediately and overwhelm the opponent before they can respond.
| Class / Build | Pros | Cons | Best For |
|---|---|---|---|
| Mercenary | Strong defenses and rewarding solo duels | Weak in trios and highly dependent on timing; one bad parry can lose the fight | Players who enjoy blocking, baiting attacks, and making opponents overcommit |
| Sorcerer | Huge burst, strong zoning, high damage, excellent in trios | High skill ceiling; demands good positioning and becomes vulnerable when skills are on cooldown | Players who enjoy spell combos, burst damage, and strategic play |
| Blackarrow | Easy to understand, strong damage over time, excellent mobility, great at frustrating opponents | Requires strong spacing and struggles against certain classes | New players, bow fans, and anyone who enjoys kiting enemies |
| Shadowstrix | Extremely fast, very high damage, rewarding combat | All-in playstyle makes mistakes extremely punishing | Players who want an adrenaline-heavy all-or-nothing melee class |
| Seer | Excellent support, sustain, and utility | Limited killing power on its own and vulnerable when caught between cooldowns | Players who enjoy supporting the team |
| Withered Knight | Long reach, methodical gameplay, strong damage | Slow, easy to kite, requires matchup knowledge | Players who like heavy melee attacks, spacing traps, and punishing impatience |
For newcomers, Blackarrow is probably the easiest starting point. Mercenary is another safe option if you prefer reactive combat and learning to punish mistakes.
If you want something faster and more aggressive, Shadowstrix is an obvious choice—and arguably the strongest class in the current lineup when played well.
For solo play, I’d start with Blackarrow, Mercenary, or Shadowstrix.
Trio players have more reasons to look toward Seer and Stardust Sorcerer, since their utility, control, and team-oriented strengths become much easier to exploit when you have teammates around.
And don’t write off Withered Knight just because it sits at the bottom of the class list. If you understand its weaknesses, use its reach properly, and stop letting faster opponents dictate the pace of the fight, that big sword can still ruin someone’s raid.